Mastering the Flow: Essential Kayaking Techniques for River Adventures
The allure of river kayaking is undeniable. From the serene glide across calm stretches to the exhilarating rush through rapids, rivers offer a dynamic playground for adventurers. However, navigating these ever-changing environments demands more than just a paddle and a boat; it requires a deep understanding of water dynamics, meticulous preparation, and a repertoire of specific kayaking techniques. This comprehensive guide will delve into the essential skills needed to transform a beginner into a confident river paddler, ready to embrace the challenges and rewards of the current.
1. Safety First: The Unwavering Foundation
Before even considering strokes and maneuvers, safety must be paramount. River environments can be unpredictable and unforgiving.
-
Proper Gear:
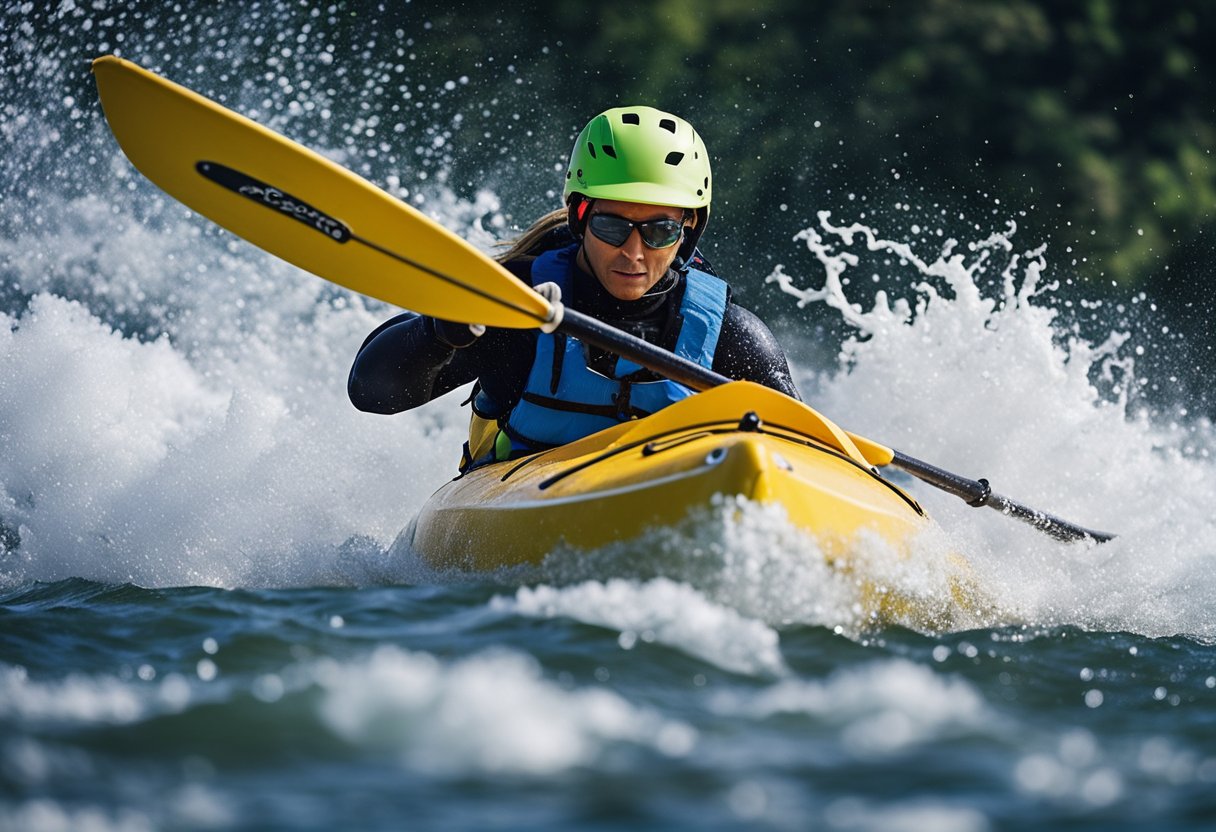
- Personal Flotation Device (PFD): A well-fitting, U.S. Coast Guard-approved (or equivalent international standard) PFD is non-negotiable. It should be snug, allowing for full range of motion.
- Helmet: Essential for protecting your head from rocks, low-hanging branches, or impact during a capsize.
- Sprayskirt: Keeps water out of your kayak, maintaining buoyancy and warmth. Ensure it fits your cockpit and waist securely.
- Appropriate Kayak: Whitewater kayaks are designed for rivers, offering maneuverability, durability, and often self-bailing features.
- Paddle: A durable whitewater paddle with offset blades (usually 30-45 degrees) is ideal for efficient strokes and bracing.
- Footwear: Closed-toe shoes that stay on your feet and offer good grip (e.g., river shoes, old sneakers) are crucial for portaging and bank navigation.
- Throw Bag: A vital rescue tool for retrieving swimmers or boats from the current.
- Whistle & Knife: For signaling and emergency cutting.
- First Aid Kit & Repair Kit: For minor injuries and on-the-go boat fixes.
-
Know Your River: Understand the river’s classification (Class I-V+), potential hazards (strainers, undercut rocks, siphons, holes), and typical water levels. Never paddle a river beyond your skill level.
-
Paddle with a Buddy: Never paddle alone. A group provides mutual support, assistance in emergencies, and shared experience.
-
Scout and Portgage: Always scout rapids from shore before running them. If a rapid looks too challenging or dangerous, portage around it. There’s no shame in walking.
-
Self-Rescue & Wet Exit: Practice capsizing your boat and performing a wet exit (safely removing your sprayskirt and exiting the kayak) in calm water. Learn how to swim aggressively in current to retrieve your boat or reach shore.
2. Fundamental Strokes: The Building Blocks
Before tackling river-specific maneuvers, a solid grasp of basic paddling strokes is essential. These are the tools you’ll adapt and combine.
- Forward Stroke: The primary propulsion stroke. Focus on rotating your torso, planting the paddle blade fully in the water near your toes, and pulling back past your hip, rather than just arm-paddling.
- Reverse Stroke: Used for braking, backing up, or setting up maneuvers. It’s the forward stroke in reverse.
- Sweep Strokes (Forward & Reverse): Used for turning the kayak. A forward sweep initiates a turn away from the paddling side; a reverse sweep initiates a turn towards the paddling side. The paddle travels in a wide arc from bow to stern.
- Draw Stroke: Moves the kayak sideways towards the paddle. The blade is placed vertically in the water and pulled directly towards the boat. Essential for precise positioning.
- Pry Stroke: Moves the kayak sideways away from the paddle. The blade is placed vertically alongside the boat and pushed outwards.
- Rudder Stroke: Used for subtle steering. The paddle blade is held gently in the water behind the stern, acting like a rudder.
3. Reading the Water: The River’s Language
Understanding how water moves is arguably the most crucial skill for a river kayaker. The river constantly communicates its character and potential hazards.
- Current: The main flow of the river. Fastest in the center of a straight section, and on the outside of a bend.
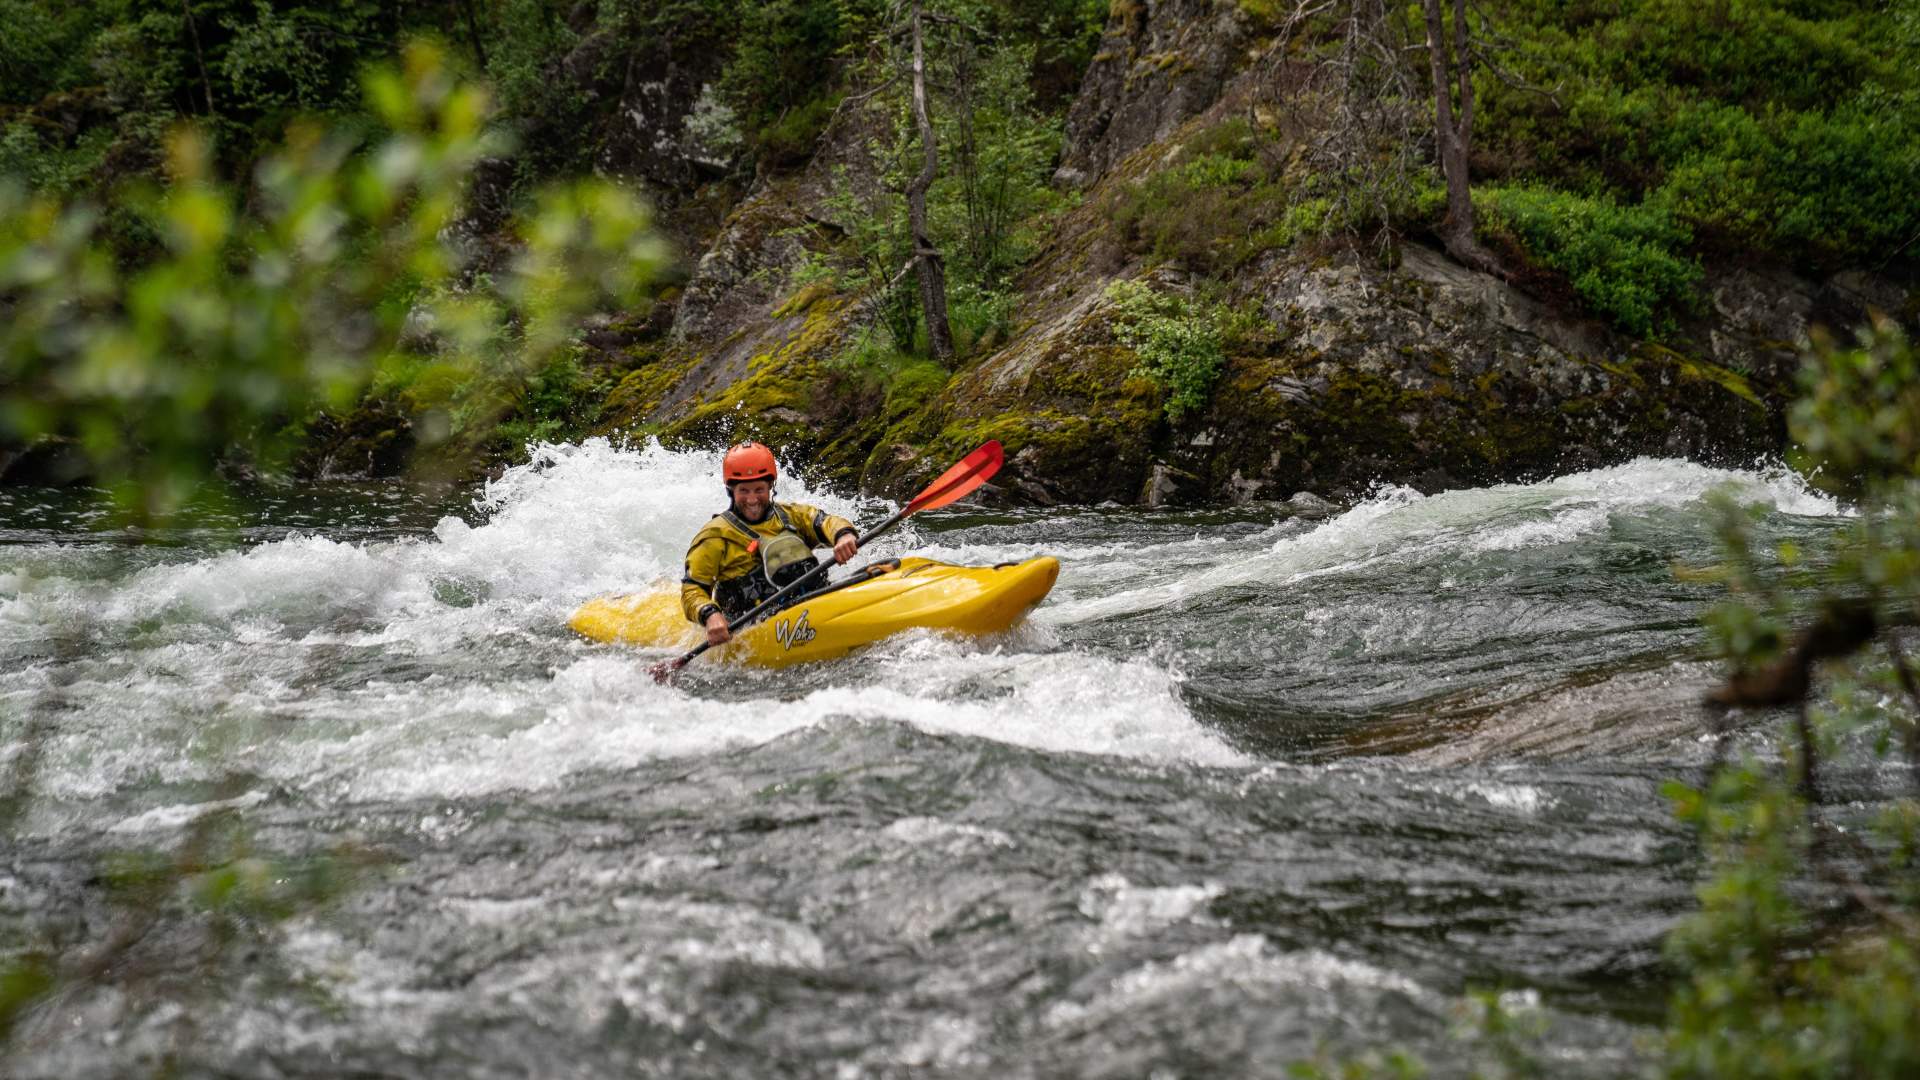
- Eddies: Calm spots or areas of upstream-flowing water, typically found behind obstacles (rocks, logs) or along the inside of river bends. Eddies are your rest stops, planning zones, and entry/exit points for rapids.
- Eddy Lines: The visible boundary between the main current and an eddy. This is where the two opposing water flows meet, creating a distinct, often turbulent, line.
- Waves:
- Standing Waves (Haystacks): Form when fast-moving water flows over a submerged obstacle. They are stationary relative to the riverbank and can be surfed or punched through.
- Holes (Hydraulics): Form when water pours over a drop and recirculates upstream. Small holes can be fun to play in; large, "sticky" holes can be dangerous and trap boats and swimmers. Identify their characteristics (foamy, "boily" water upstream, strong recirculation).
- Rocks & Obstacles:
- Pillow Rocks: Water piles up against the upstream face of a rock, creating a "pillow" of calm water.
- Undercut Rocks: Extremely dangerous. Water flows under the rock, creating a sieve that can trap boats and people. Avoid at all costs.
- Strainers: Obstacles like fallen trees or fences that allow water to pass through but block solid objects. Highly dangerous as they can pin and drown a paddler.
4. River-Specific Techniques: Dancing with the Current
Once you understand the basic language of the river, you can begin to execute maneuvers that allow you to navigate it effectively.
-
The Eddy Turn (Entering an Eddy):
- Purpose: To exit the main current and rest, regroup, or prepare for the next section.
- Execution:
- Approach: Paddle towards the eddy line with some speed, aiming for the upstream side of the eddy.
- Angle: Angle your kayak so the bow crosses the eddy line first, pointing towards the upstream flow of the eddy (approx. 45 degrees to the current).
- Lean: As your bow crosses the eddy line, lean your body into the turn (towards the eddy). This edge allows the boat to pivot.
- Paddle Stroke: Use a powerful forward sweep stroke on the outside of the turn (the side facing the main current) to help pivot the boat.
- Exit: As your boat completes the turn and faces upstream, bring your boat level and relax into the eddy.
-
The Peel Out (Exiting an Eddy):
- Purpose: To re-enter the main current from an eddy.
- Execution:
- Position: Start at the upstream edge of the eddy, facing upstream.
- Angle: Angle your kayak about 45 degrees to the eddy line, pointing the bow downstream into the current.
- Lean: As your bow crosses the eddy line, lean your body downstream and into the current. This lean helps the current catch your stern and pivot the boat.
- Paddle Stroke: Use a powerful forward stroke on the upstream side (the side inside the eddy) to drive the bow out and accelerate into the current.
- Accelerate: Continue paddling strongly to gain speed and stability as you merge with the main current, straightening out your boat.
-
Ferrying (Attainment):
- Purpose: To move sideways across the current without losing or gaining significant downstream distance. Essential for positioning for rapids or avoiding obstacles.
- Execution (Upstream Ferry):
- Angle: Angle your kayak upstream, about 45 degrees to the current, pointing towards your desired destination on the opposite bank.
- Lean: Lean your body and the kayak into the upstream current. This allows the current to push against the upstream edge of your boat, propelling you sideways.
- Paddle: Use subtle forward strokes on the downstream side to maintain momentum and control your angle.
- Maintain: Keep your angle and lean consistent. The faster the current, the more aggressive your angle and lean need to be.
- Execution (Downstream Ferry): Similar to an upstream ferry, but you angle your boat downstream and lean into the downstream current. This is less common in whitewater but useful for precise positioning.
-
Bracing (Low Brace & High Brace):
- Purpose: To prevent capsizing when off-balance or hit by a wave. It’s a momentary recovery stroke.
- Low Brace: The paddle shaft is held low across the cockpit, blades flat on the water. When off-balance, slap the flat blade onto the water surface, and use a powerful hip snap (snap your hips back under the boat) to right yourself. Your head stays over the boat.
- High Brace: Used when more power is needed, often in more dynamic water. The paddle shaft is held higher, with the active blade slicing into the water. Similar hip snap, but with more power from the paddle. Be cautious with high braces, as a missed high brace can lead to a capsize and entanglement.
-
The Eskimo Roll (Kayaker’s Best Friend):
- Purpose: To right an overturned kayak without exiting the boat. It’s the ultimate self-rescue technique in whitewater.
- Execution (Simplified):
- Set Up: After capsizing, pull yourself tightly to the deck, head tucked, paddle held in a strong setup position (often parallel to the boat, blade near the surface).
- Hip Snap: The most crucial part. Snap your hips and body powerfully, driving your lower body under the boat, while keeping your head down.
- Paddle Sweep/Support: As you snap your hips, use the paddle blade to sweep across the surface of the water or press down for support, providing the leverage to bring the boat upright.
- Head Last: Keep your head tucked until the very last moment, emerging after the boat is mostly upright. This protects your head and allows the rest of your body to complete the roll.
- Importance: Learning to roll reliably is a game-changer for river kayaking, allowing you to recover quickly and continue downstream, rather than swimming. Practice extensively in calm water before attempting in rapids.
5. Advanced Considerations & Continuous Learning
- Punching Holes & Waves: Use a powerful forward stroke, a slight forward lean, and often a brace to drive through the aerated water of holes and over standing waves.
- Boofing: A technique to launch the kayak over a drop or hole, landing flat on the downstream side rather than plunging into the feature. Requires precise timing, speed, and a strong forward stroke combined with a powerful, upward hip snap at the lip of the drop.
- Group Dynamics & Communication: In a group, communicate clearly. Identify a lead boat and a sweep boat. Establish hand signals. Maintain appropriate spacing.
- River Rescue Techniques: Beyond self-rescue, learn basic river rescue skills like throw bag deployment, T-rescues (righting another paddler’s boat), and assisted rolls.
- Practice, Practice, Practice: The river is the best teacher. Start on easy sections, gradually challenging yourself as your skills improve. Repetition builds muscle memory and confidence.
- Seek Professional Instruction: This article provides a foundation, but there is no substitute for hands-on coaching from certified whitewater instructors. They can provide personalized feedback and safely guide you through skill progression.
Conclusion
River kayaking is an incredibly rewarding pursuit, offering a unique blend of adventure, skill development, and connection with nature. By prioritizing safety, mastering fundamental strokes, learning to read the dynamic language of the river, and diligently practicing specific maneuvers like eddy turns, peel outs, ferrying, and bracing, you will unlock a deeper level of confidence and enjoyment. The journey of becoming a proficient river kayaker is a continuous one, filled with challenges and triumphs. Embrace the flow, respect the power of the water, and let the river guide you to unforgettable adventures.


